Image Retouching How to Become a Photo Retoucher: Step-by-Step Guide (2025) Smart clipping April 26, 2025
Image Retouching How to Photo Retouch in Photoshop Like a Pro in Minutes (2025) Smart clipping April 23, 2025
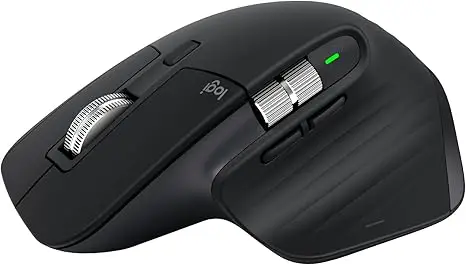
Photo Retouching Tips Best Mouse for Photo Retouching in 2025 (Expert Tested) Smart clipping April 7, 2025
Image Retouching Retouch a Photo Online Free – Make Any Picture Look Stunning! Smart clipping March 28, 2025