Ecommerce Photo What is the best size for ecommerce product images (2025) Smart clipping January 17, 2025
Image Retouching How to create warm tone darkroom action on Photoshop (5 Easy Steps) Smart clipping October 31, 2024
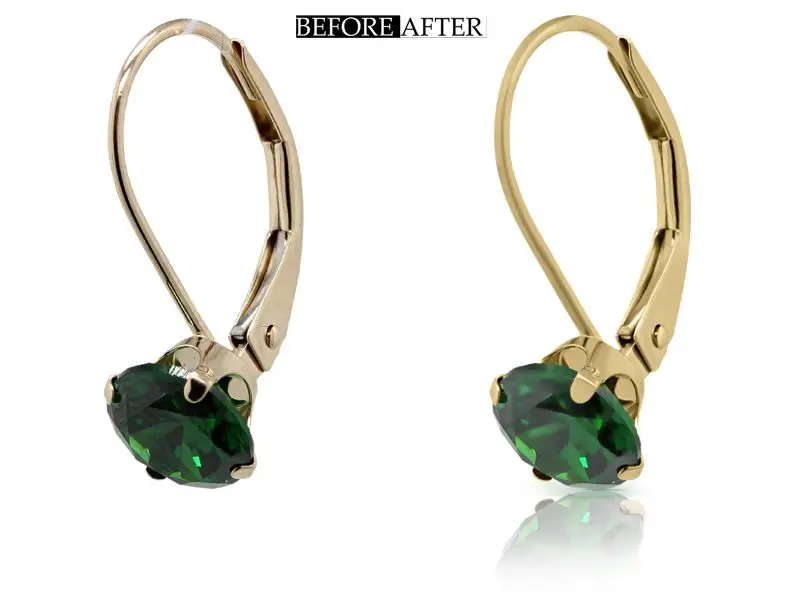
Image Retouching What Is Image Retouching? The Secret to Amazing Photos Smart clipping October 25, 2024
Photo Retouching Actions 9 Best Photo Retouching Actions for Professional Results Smart clipping October 18, 2024
Image Retouching How to Install and Use Photo Retouching Actions Like a Pro (3 Easy Steps) Smart clipping October 15, 2024
Image Retouching How To Become An Image Retoucher: The Ultimate Guide Smart clipping October 13, 2024
Image Retouching 7 Best Image Retouching Service Providers for Flawless Results Smart clipping October 11, 2024
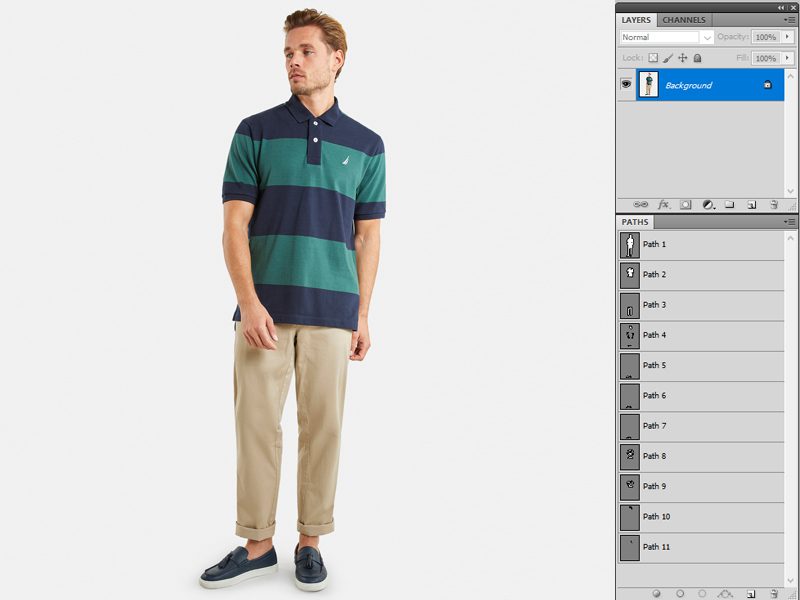
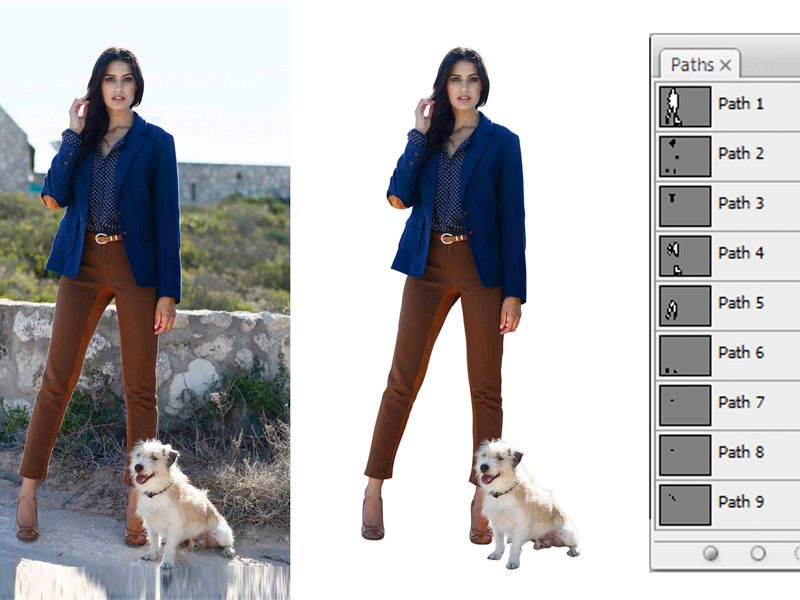
Image Retouching How many types of photo retouching services are there Smart clipping October 9, 2024