Want to know how to edit a car photo like a pro? The right editing techniques can make your car images stand out. You can use those eye-catching car images in online listings or portfolios.
In this post, I’ll show you everything you need to know about how to edit a car photo.
I will give you the right tools and steps for mastering essential techniques.
By the end, you’ll know how to transform any car photo into a polished masterpiece.
Ready to get started? Let’s dive in!
Why Car Photo Editing Matters
Have you ever noticed how cars in advertisements look flawless? That’s no coincidence.
Edited car photos are essential for businesses like car dealerships or rental services. A polished car photo can enhance a vehicle’s appeal. It can even increase buyer interest.
For example, potential buyers are more likely to click on cars that look clean, vibrant, and well-presented while scrolling through online listings.
Imagine a car photo with distracting reflections or poor lighting. It’s not going to leave a good impression.
On the other side, a professionally edited photo with a balanced background, sharp details, and vibrant colors can make any car stand out.
If you’re into car photography then you need to understand the benefits of car photo editing. Because it can help you take your photos to the next level.
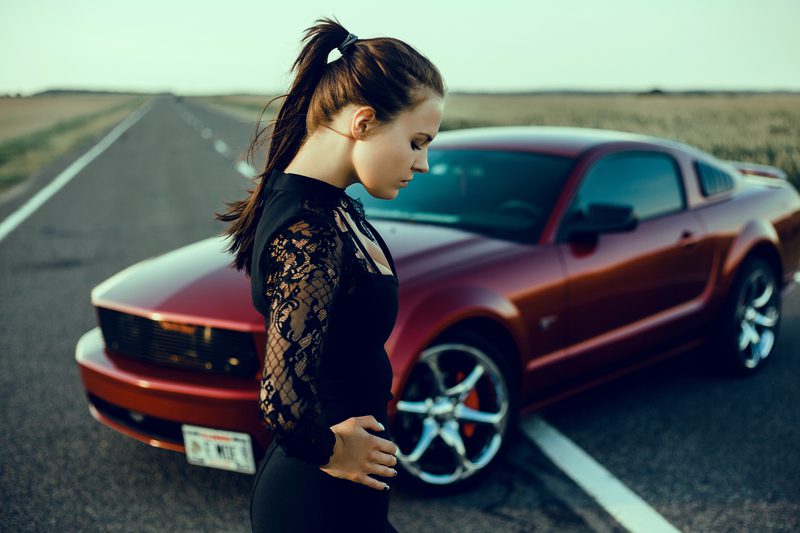
Preparing for Car Photo Editing
You need a good photo to work with before you dive into editing. Because starting with a high-quality image is half the battle won.
Use Proper Equipment
A DSLR camera or a mirrorless camera works best for car photography. These cameras provide sharpness and detail. These are essential when editing.
A tripod helps you maintain stability and proper lighting. Such as natural sunlight or diffused lighting can reduce unwanted shadows.
Set Up the Background
The background can make or break your car photo. You should choose a clean and simple backdrop to highlight the car.
Parking lots, garages, and open fields are great options. You also need to ensure the lighting matches your desired replacement if you plan to replace the background later.
Capture Multiple Angles
Take shots from different angles such as close-ups of unique details like wheels or logos. This ensures you have plenty of options when you start editing.
For more ideas, check out Tips for Shooting Cars at Night.
Best Tools for Car Photo Editing
You’ll need the right tools if you’re wondering how to edit a car photo effectively. Here’s a breakdown of some popular editing software:
1. Adobe Photoshop
Adobe Photoshop is the top choice for professionals. It’s also great for beginners who are looking for how to edit car photos.
It offers advanced features like the Spot Healing Brush for removing blemishes. The Clone Stamp tool is used to fix imperfections, and Adjustment Layers are used to tweak colors.
It has a steep learning curve. It’s also perfect for achieving flawless edits.
2. Adobe Lightroom
Adobe Lightroom is a great option if you’re new to editing or just need quick color corrections. It’s also user-friendly and good at adjusting lighting, exposure, and color grading.
3. GIMP
GIMP is a free and powerful tool for those on a budget. It doesn’t have all the features of Photoshop, but it’s perfect for basic edits. You can easily do background adjustments and color corrections using this open source image editing software.
4. Canva
Canva isn’t a traditional photo editor, but it’s handy for quick edits. It’s a great online image editing tool for resizing car photos. You can also add text overlays for social media posts.
Comparison of Tools:
| Tool | Best For | Price |
| Adobe Photoshop | Advanced editing & retouching | $22.99/month |
| Adobe Lightroom | Color correction & presets | $9.99/month |
| GIMP | Free editing with essentials | Free |
| Canva | Social media-friendly edits | Free & Paid |
Now you know why car photo editing matters and have the tools ready. It’s time to get hands-on.
In the next section, I’ll guide you through a step-by-step process on how to edit a car photo. You will know about cropping, lighting adjustments, and removing imperfections.
Let’s dive into the practical part of car photo editing!
Related Links for Inspiration:
Step-by-Step Guide: How to Edit a Car Photo
Editing a car photo doesn’t have to feel complicated. You can follow the step-by-step guide i shared below. This will help you get a professional car image with the right tools and techniques.
Step – 1: Cropping and Framing
Cropping and framing are the most important thing for editing car photos. The goal is to remove distractions and highlight the car’s best features.
Choose the Right Crop:
Start by deciding what you want to focus on the photo. The car should be centered or slightly offset to create a visually pleasing composition for most car photos. You should avoid cropping out essential elements like wheels or mirrors.
Common Aspect Ratios for Car Photos:
- A 16:9 car image ratio is ideal for websites and digital galleries.
- The 4:3 ratio is perfect for social media posts.
- 1:1 is best for Instagram grids.
Tools for Precise Cropping:
You can use Adobe Photoshop or Lightroom for precise cropping. Canva is also a good option for quick adjustments if you’re working on social media-friendly photos.
Pro Tip:
Use the Rule of Thirds grid in your editor to align the car with natural focal points in the frame.
For more tips, check out this guide to photo composition.
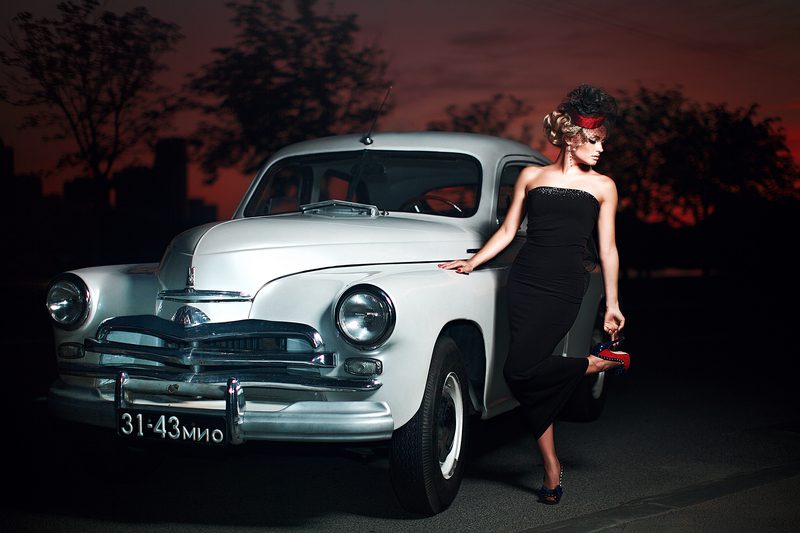
Step – 2: Adjusting Lighting and Colors
The lighting and colors of your car photo can completely change how it feels. Correcting exposure and enhancing colors make the car look more vibrant and realistic.
Correct Exposure for Car Photo:
If the photo is too dark or too bright then use tools like Brightness and Contrast in Photoshop or the Exposure slider in Lightroom. You should go for natural lighting that matches the setting.
Enhance Paint Colors in Car Image:
Make the car paint pop by increasing saturation and contrast, but don’t overdo it. These tweaks often look more professional. Adjust the Hue slider to refine specific colors. Such as the red of a sports car or the blue of a sedan.
Add a Cinematic Effect in Car Photo:
You can use color grading techniques for a dramatic touch. Adjust shadows, mid-tones, and highlights to give the photo a more polished look. Lightroom’s split toning feature works great for this.
Pro Tip:
Use Lightroom presets to save time. You can download free ones from sites like Lightroom Preset Shop.
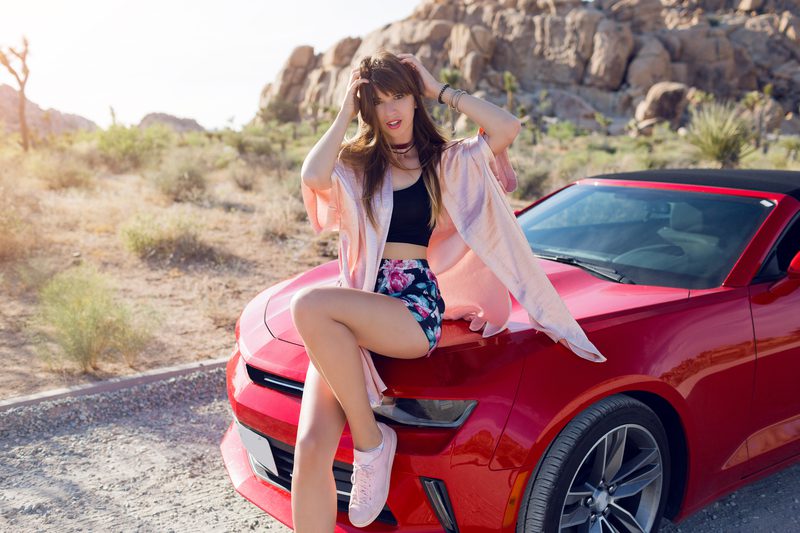
Step 3: Removing Reflections and Blemishes
Car surfaces are prone to reflections, scratches, and dirt. These things can distract from the overall photo. You need to clean these up digitally to ensure the car looks its best.
Eliminate Unwanted Reflections From the Car Photo:
Use Photoshop’s Clone Stamp or Healing Brush tool to remove unwanted reflections on the car’s surface. You can also try the Patch Tool to blend them for stubborn reflections.
Clean Up Dirt and Scratches From the Car Photo:
Zoom in on the photo to spot minor imperfections like dirt or scratches. You can use the Spot Healing Brush to remove them quickly.
You can also use the Content-Aware Fill tool in Photoshop for larger issues.
Pro Tip:
You should always work on a duplicate layer to preserve the original photo. This will give you the flexibility to undo changes if needed.
For detailed instructions on reflection removal, check out this tutorial on editing reflections.
Now you’re already halfway to creating a professional-looking car photo with cropping, lighting adjustments, and blemish removal.
In the next section, I’ll guide you through advanced techniques like adding shadows, replacing backgrounds, and creating standout effects.
Stick around. There’s more to learn!
Also Read:
Explore this tutorial on car photography editing in Adobe Lightroom.
Step 4: Adding or Adjusting Shadows
Realistic shadows can transform a car photo from flat to visually stunning. Shadows also give depth and dimension to the car. This makes it look grounded and natural.
Why Shadows Matter in Car Images:
Adding or enhancing shadows can make the car feel like it’s truly part of the scene. Even the most polished edits can look artificial without proper shadows.
Techniques to Create or Enhance Car Shadows:
- Drop Shadows:
Use tools like Photoshop’s Drop Shadow effect to add shadows beneath the car. You can adjust the angle and opacity to match the lighting in the photo.
- Manual Painting:
You can use a soft brush with reduced opacity to paint shadows manually on a new layer. This is great for more control.
- Blurred Shadows:
Also, use the Gaussian Blur tool to soften the edges of your shadow. This will help get a natural look for the car photo.
Recommended Tools for Shadow Manipulation:
- Adobe Photoshop: Use Adjustment Layers and blending modes for precise shadow control.
- Canva: A beginner-friendly online image editing tool for adding simple drop shadows.
- GIMP: A free Adobe Photoshop alternative for shadow editing.
Pro Tip:
Keep car shadows consistent with the light source in the original photo. For example, if the light comes from the left, the car shadow should fall to the right.
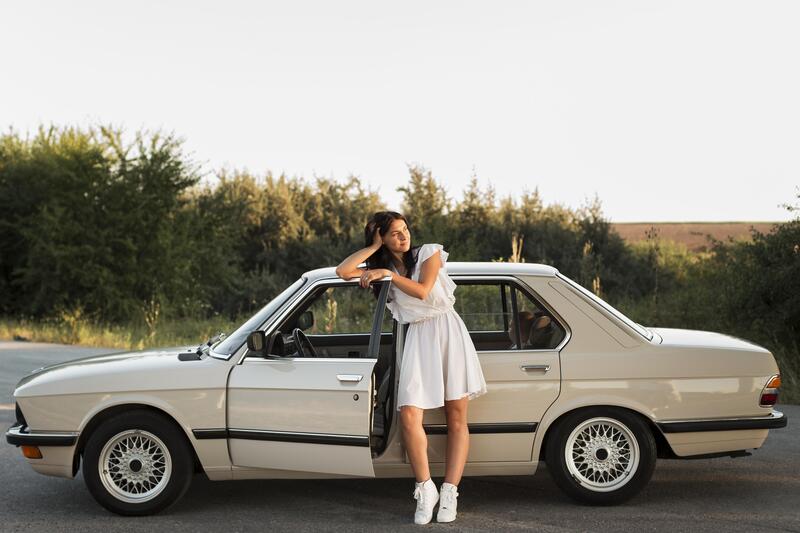
Step 5: Replacing or Enhancing Backgrounds
The background of your car photo can make or break its impact. A clean and visually appealing car background ensures the car remains the focus.
How to Replace Distracting Backgrounds:
You can use tools like Photoshop’s Select and Mask feature to isolate the car from the background. Then replace the background with something clean and complementary once selected. Such as a gradient or a simple outdoor scene.
Blurring Backgrounds for a Professional Effect:
If replacing the background isn’t necessary then you can consider blurring it instead. Tools like Photoshop’s Lens Blur or Lightroom’s Radial Filter are great for this.
A blurred background keeps the car sharp and draws the viewer’s attention to it.
Tools for Car Image Background Editing:
- Photoshop: The Select and Mask feature is perfect for detailed cutouts.
- Remove.bg: A quick online tool for automatic background removal.
- Lightroom: This is great for blurring backgrounds without replacing them.
Pro Tip:
Choose a background that matches the theme of the car. For example, a sleek sports car looks great with an urban skyline. On the other hand, a family SUV fits well in a scenic outdoor setting.
Here’s a helpful video tutorial on replacing backgrounds:
Step 6: Final Touches
The final steps in editing a car photo ensure that everything looks polished and ready for its intended use.
Add Sharpness for a Crisp Finish:
Sharpening enhances the details of the car. It also makes the edges more defined. You can use tools like the Unsharp Mask in Photoshop or the Detail panel in Lightroom.
Then adjust settings carefully to avoid over-sharpening. Because oversharpening can make the image look grainy.
Consistency with Branding:
If you’re editing car photos for a dealership or marketing campaign then you need to keep the branding elements consistent. You can add dealership logos or use the same filter across multiple images for a uniform look.
Save in the Correct Format:
Choose the format based on where you’ll use the photo:
- JPEG: JPEG format is best for online use. Because of its small file size.
- TIFF: TIFF image format is ideal for high-quality prints.
- PNG: PNG works great for images with transparent backgrounds.
Pro Tip:
You can use tools like Photoshop’s Export for Web feature to compress the file size without losing quality when saving for the web.
Watch the video below fro using Photoshop’s Export for Web feature:
Your car photo editing journey is complete with these steps! Now, your photos are polished, professional, and ready to impress.
Let’s dive into some advanced techniques to take your skills even further!
Advanced Techniques for Car Photo Editing
Let’s explore some advanced techniques if you’ve mastered the basics of how to edit a car photo. These methods can add a professional touch and make your car images stand out.
HDR Editing for Dramatic Car Photos
HDR (High Dynamic Range) editing is a fantastic way to bring out the details in a car photo. This is great for working with high-contrast lighting.
HDR combines multiple exposures to balance the highlights and shadows. It also creates a more dynamic image.
How to Use HDR Editing:
- Take several shots of the same car at different exposures.
- Use HDR software like Adobe Lightroom or Aurora HDR to merge them into one image.
- Adjust the contrast, highlights, and saturation to fine-tune the car’s look.
Pro Tip:
HDR editing works best for outdoor car photos taken under bright sunlight. You should avoid overdoing it. Because too much HDR can make the photo look unrealistic.
Using 3D Tools to Add Creative Effects
3D tools can give your car photos an artistic edge. For example, you can create reflections, add motion blur, or even design a futuristic car setting.
Recommended 3D Tools:
- Blender: Perfect for creating 3D car reflections and environments.
- Adobe Dimension: Great for combining 2D car images with 3D effects.
- Cinema 4D: Ideal for advanced 3D car photo editing.
Pro Tip:
You can experiment with effects like tire motion blur. This will give the car a sense of movement.
Perspective Corrections for Straightening Lines
A car photo can look distorted due to the angle of the shot. You can usse Perspective correction tools to straighten lines and maintain proportion.
How to Correct Perspective:
- Use Photoshop’s Perspective Warp to adjust the angles.
- Lightroom’s Transform Panel offers quick fixes for lens distortion.
- Align the car’s horizontal and vertical lines with the grid for accuracy.
Perspective correction is very useful for architectural backgrounds in car photos.
Common Mistakes in Car Photo Editing (and How to Avoid Them)
Even the best editors make mistakes. Learning to avoid these errors is just as important as mastering how to edit a car photo.
Overediting: Losing the Natural Car Look
It’s tempting to overedit a car photo when working with powerful photo editing tools.Too much editing can also strip the car of its natural appeal.
Solution:
Stick to minimal adjustments that enhance the car’s features without making them look fake.
Neglecting Reflections or Details
Reflections on windows or paint can distract viewers. You can use small blemishes like dirt and scratches are easy to overlook.
Solution:
You can zoom in while editing to catch these details. Also, use tools like the Spot Healing Brush and Clone Stamp in Photoshop.
Poor Background Blending
A badly edited background can ruin the whole photo. Mismatched lighting or unnatural transitions stand out immediately.
Solution:
Match the lighting to the car’s direction and tone when replacing or blurring a background.
For more tips, check out this list of common photo editing mistakes.
Best Practices for Editing Car Photos
Consistency and efficiency are key to producing high-quality car photos. Here’s how to streamline your workflow while maintaining great results.
Maintaining a Workflow to Save Time
A structured editing workflow ensures you don’t miss any steps. Start with basic adjustments like cropping and lighting before moving on to advanced techniques like HDR or perspective correction.
Pro Tip:
Organize your files with labeled folders for easy access.
Creating Presets for Consistent Results
Presets can save a lot of time. If you edit multiple car photos with similar settings then you should definitely use presets. Lightroom is a great tool for creating and applying presets.
How to Create Presets:
- Edit one photo that you like.
- Save the settings as a preset.
- Apply the preset to other photos and tweak as needed.
Staying Updated with the Latest Editing Trends
Car photo editing trends evolve constantly. You should follow industry blogs, watch YouTube tutorials, and join editing forums to stay ahead.
Pro Tip:
Try incorporating popular techniques like cinematic color grading or AI-based background replacement to stay fresh.
Explore this article on photo editing workflows for more insights.
You can avoid the common mistakes by using these advanced techniques and following best practices. This way you’ll become a pro at how to edit a car photo.
Free vs. Paid Tools: Which Should You Choose?
When figuring out how to edit a car photo, the choice between free and paid tools depends on your needs and goals. Both have their pros and cons. So let’s break it down.
Free Tools: Pros and Cons
Free tools like GIMP and Canva are great photo editing tools if you’re on a budget or just starting out.
Pros:
- They are completely free to use.
- They offer basic features like cropping, color adjustments, and filters.
- Tools like Canva are user-friendly and perfect for beginners.
Cons:
- Limited advanced features for professional-level image edits.
- Slower processing with large files compared to paid tools.
- Some free tools lack precision editing options. Such as advanced masking or HDR.
GIMP is a great Photoshop alternative if you’re just dipping your toes into car photo editing.
Paid Tools: Why They’re Worth It
Paid tools like Adobe Photoshop and Lightroom offer powerful features for professionals.
Pros:
- Adobe Photoshop has advanced tools for precise editing. Such as layer adjustments and perspective correction.
- Regular updates with new features.
- Integration with other software for seamless workflows.
Cons:
- Monthly or one-time costs can add up.
- A steeper learning curve for beginners.
Free vs. Paid: Key Features Comparison
| Feature | Free Tools (e.g., GIMP) | Paid Tools (e.g., Photoshop) |
| Basic Editing | Yes | Yes |
| Advanced Masking | Limited | Yes |
| HDR Editing | Limited | Yes |
| 3D Effects | No | Yes |
| Cost | Free | Starts at $9.99/month |
If you’re serious about learning how to edit a car photo then you should invest in paid tools like Photoshop. Because it will be worth it for the long term.
Conclusion
Learning how to edit a car photo takes time and practice. But the effort is worth it. Use the tools and techniques I’ve shared above. This way you can transform ordinary car photos into stunning images that grab attention.
Remember to start with basic edits. Like cropping and lighting adjustments. Then go for advanced techniques like HDR or 3D effects.
The key is consistency. So don’t be afraid to experiment with presets or workflows.
Try these tips today and see how much your car photos improve. I’d love to hear about your results. Feel free to share your favorite edits in the comments!
FAQs about “How to Edit a Car Photo”
How Long Does It Take to Edit a Car Photo?
The time depends on the complexity of the edit. A simple crop or color adjustment might take 5-10 minutes. Advanced edits, like background replacement or HDR adjustments can take 30 minutes to an hour.
What’s the Best Photo Editing Software for Beginners?
Canva and Lightroom are excellent choices for beginners. Canva is great for quick edits. On the other hand, Lightroom offers more control for color correction and lighting.
Can I Edit Car Photos on My Smartphone?
Yes, mobile apps like Adobe Lightroom Mobile or Snapseed allow you to edit photos on the go. These apps are great for quick edits and offer features like cropping, filters, and basic lighting adjustments.
